The 6 wire flat cable for the Power Cab contains full track power and the wall power from the 2 amp power supply. The 6 wire FLAT cable for the Power Cab contains full track power and the wall power from the 2 amp power supply. The cable used for the Power Cab is thicker and heavier for this purpose. You cannot substitute ANY other type of cable. Using NON NCE CABLES WILL VOID YOUR WARRANTY. Longer cables or coiled cables are not available.
Your Power Cab is a full featured DCC system. It must be used with the 6 wire, FLAT cable supplied.
An NCE P114 power supply (13.8 VDC Regulated) is the supplied transformer for your system. We recommend that you follow the instructions below to connect your system to a small test track first. After your system is checked out completely and known to be working then consider the final installation locations for components and connections to the track.
TRYING OUT YOUR POWER CAB
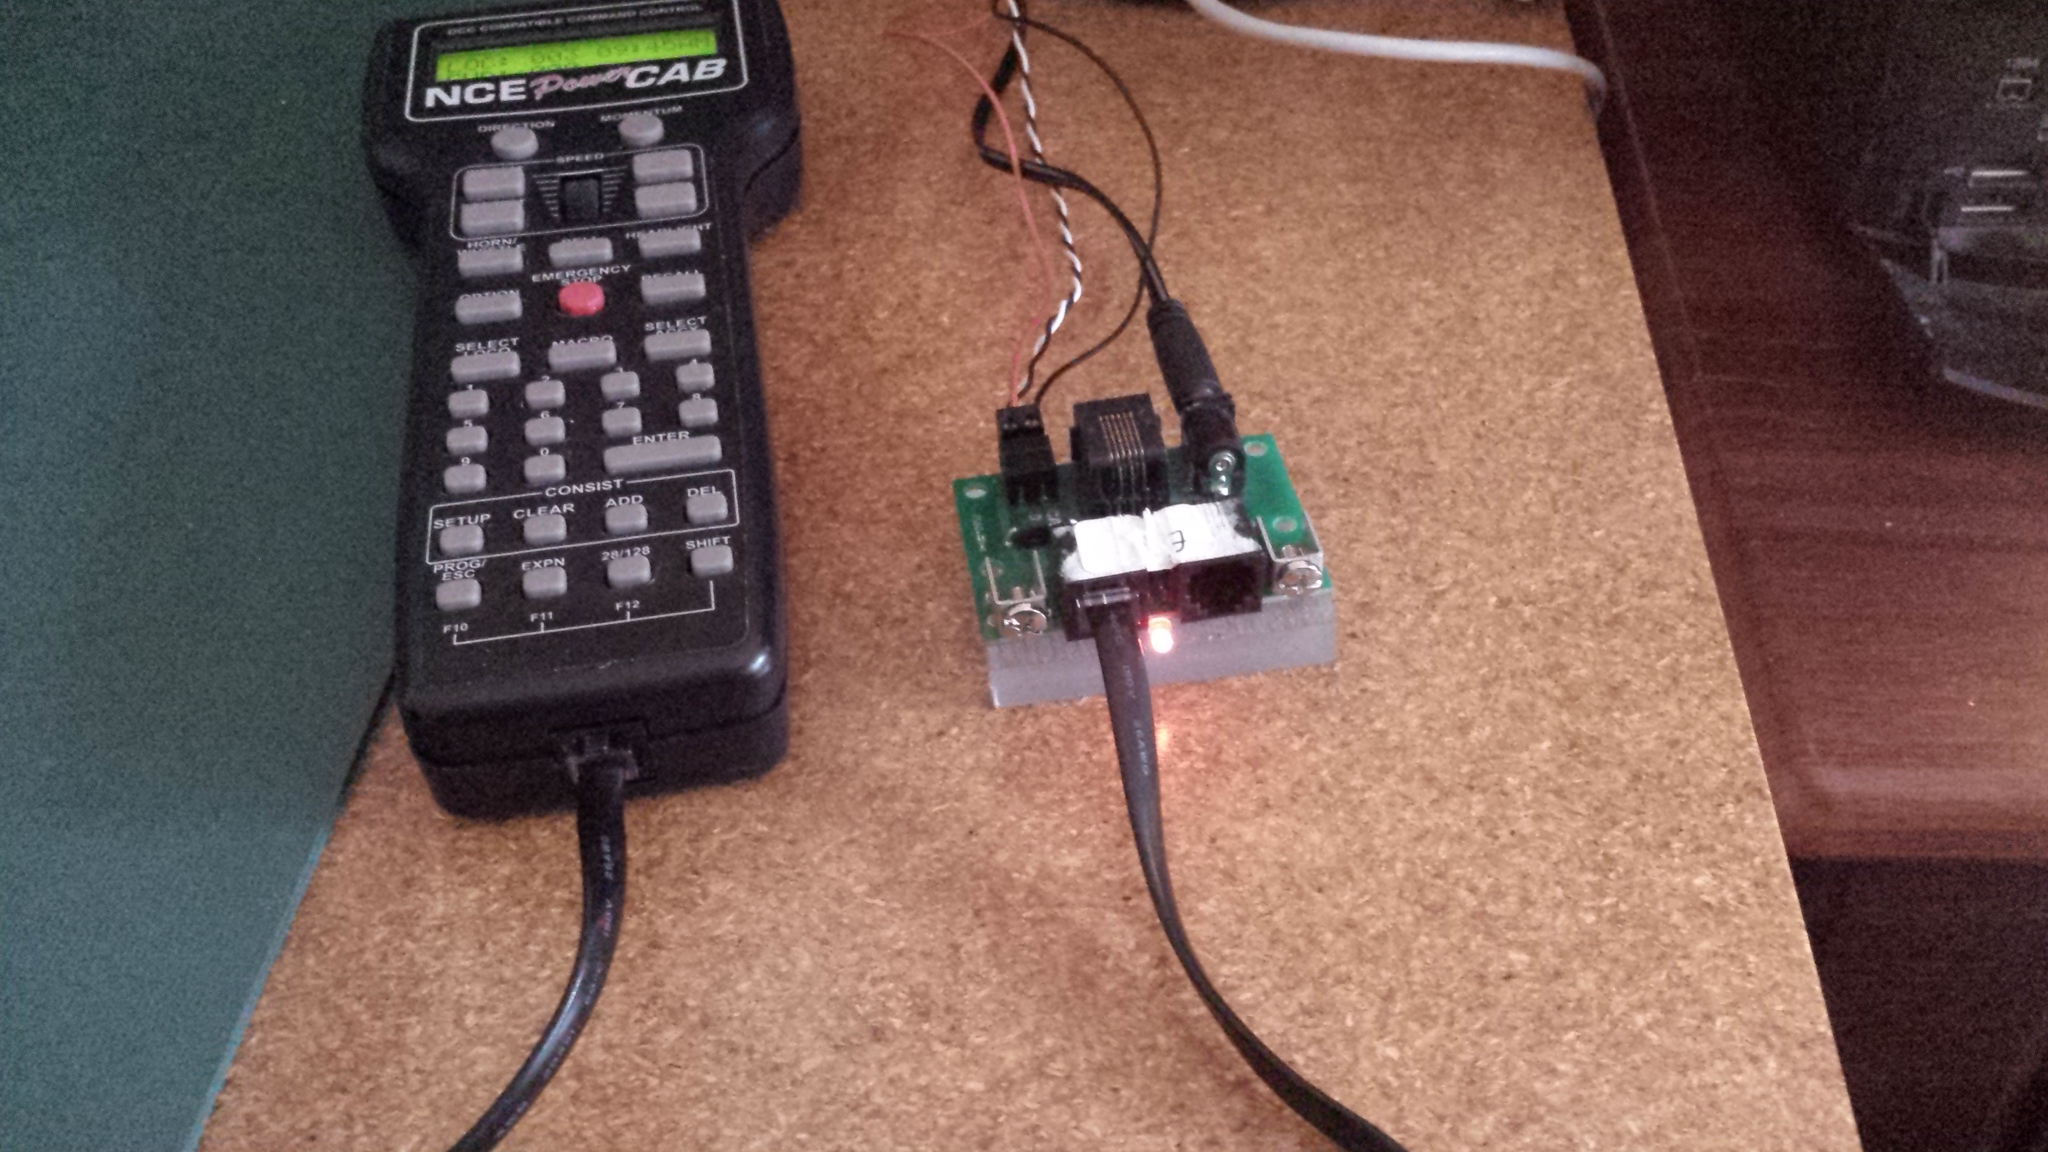
#1 Assemble the Power Cab Panel (PCP) by screwing the black plate to the circuit board with screws provided.
#2 Connect the long 7 foot flat cable from the Power Cab into the socket marked (on the drawing) POWER CAB (left socket).
#3 Use a small, flat screwdriver to attach the test track feeder wires to the small two place connector. Make sure that there are no shorts or frayed wires between the connections.
#4 If you have a locomotive with a DCC decoder already installed place it on the
#5 Plug the power supply into the socket marked POWER. Plug the power supply into a wall outlet.
#6 The display of the cab should look something like: LOC 000 This is what we call the ‘NORMAL DISPLAY’. The fast clock in the upper right hand corner will most likely show a different time. If it is blinking you have a short circuit!
The following cab buttons must be pressed in the proper sequence to acquire control of the locomotive #3 (in the above example locomotive #3 is already selected):
Note: Locomotive decoders usually have their short address set to 3 at the factory.
a. Press SELECT LOCO button once.
b. Press the “3” button once. DO NOT press 0003, 003 or 03!
c. Press ENTER.
TIP #1 If you make a mistake while entering numbers on the cab just keep pressing more numbers until the number entry field clears, then enter the correct numbers.
TIP #2 Whenever the cab is waiting for you to enter data (a flashing black square is on the screen at the point where the numbers will go) you can press the PROG/ESC key to “escape” what you were doing and return to normal operation mode.
TIP #3 Whenever you have pressed a button (such as SELECT LOCO) and you want to keep what ever number that is already on the screen just press ENTER.
To operate the locomotive, the following controls are used:
a. The thumbwheel will increase/decrease speed. The speed control buttons that flank the thumbwheel on either side may also be used as desired to control the loco speed.
b. Pressing the DIRECTION button will cause the loco direction to reverse.
CONGRATULATIONS! You are now operating a locomotive with DCC control. In most cases, less than ten minutes has elapsed since you started reading this Quick Start Guide.
Comments